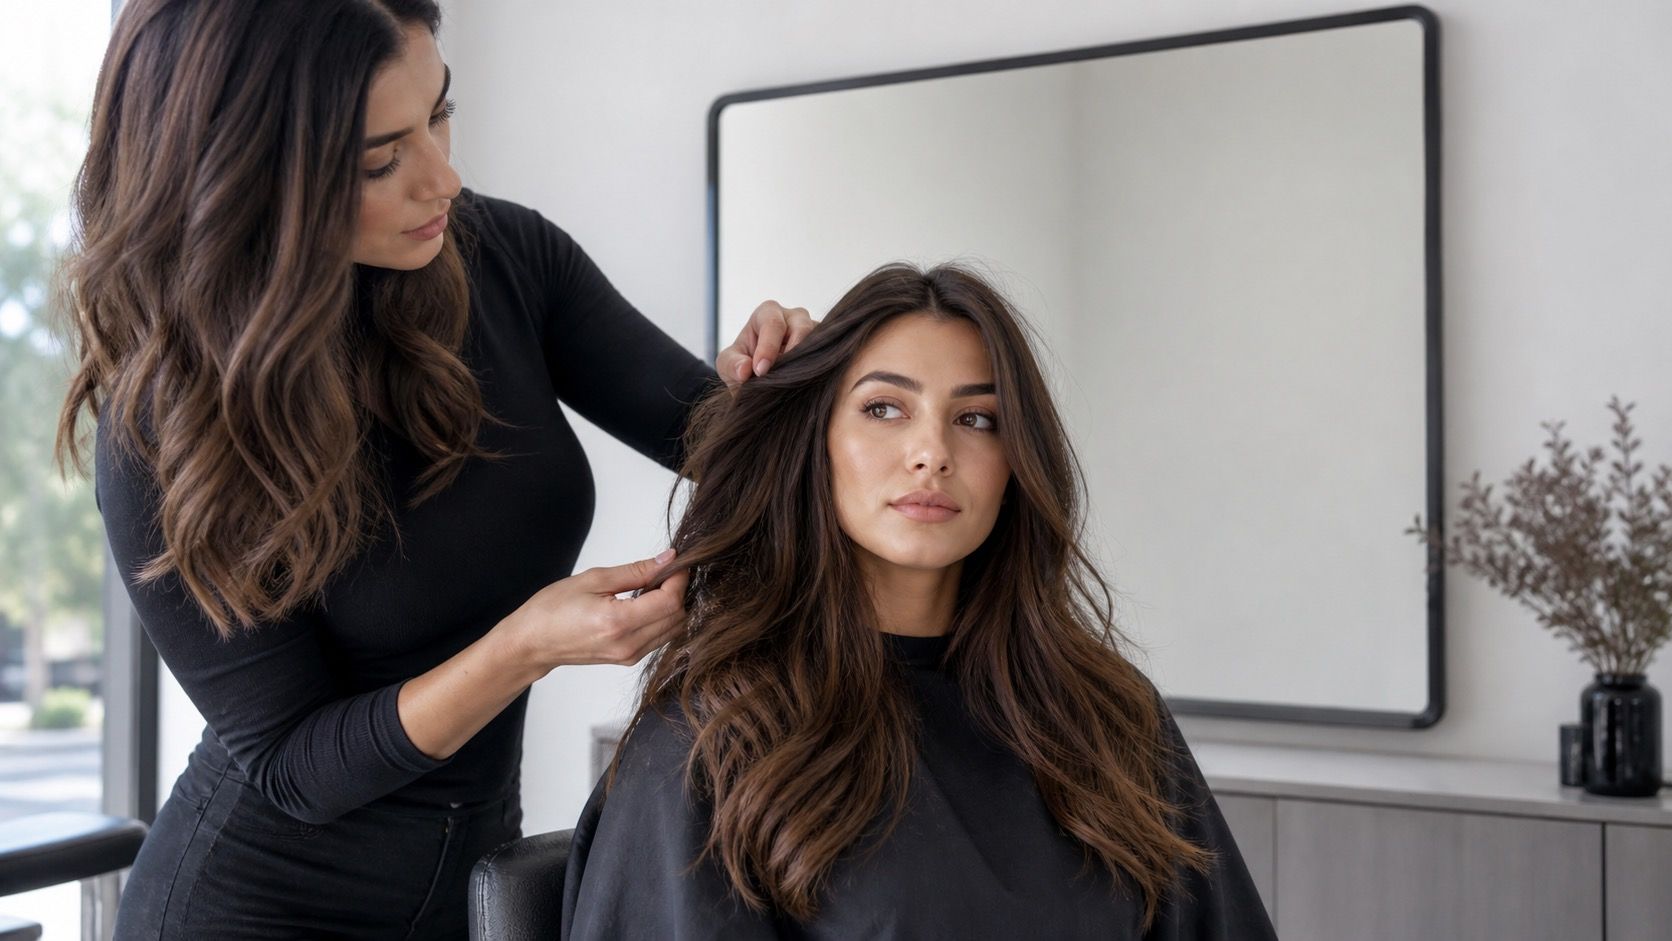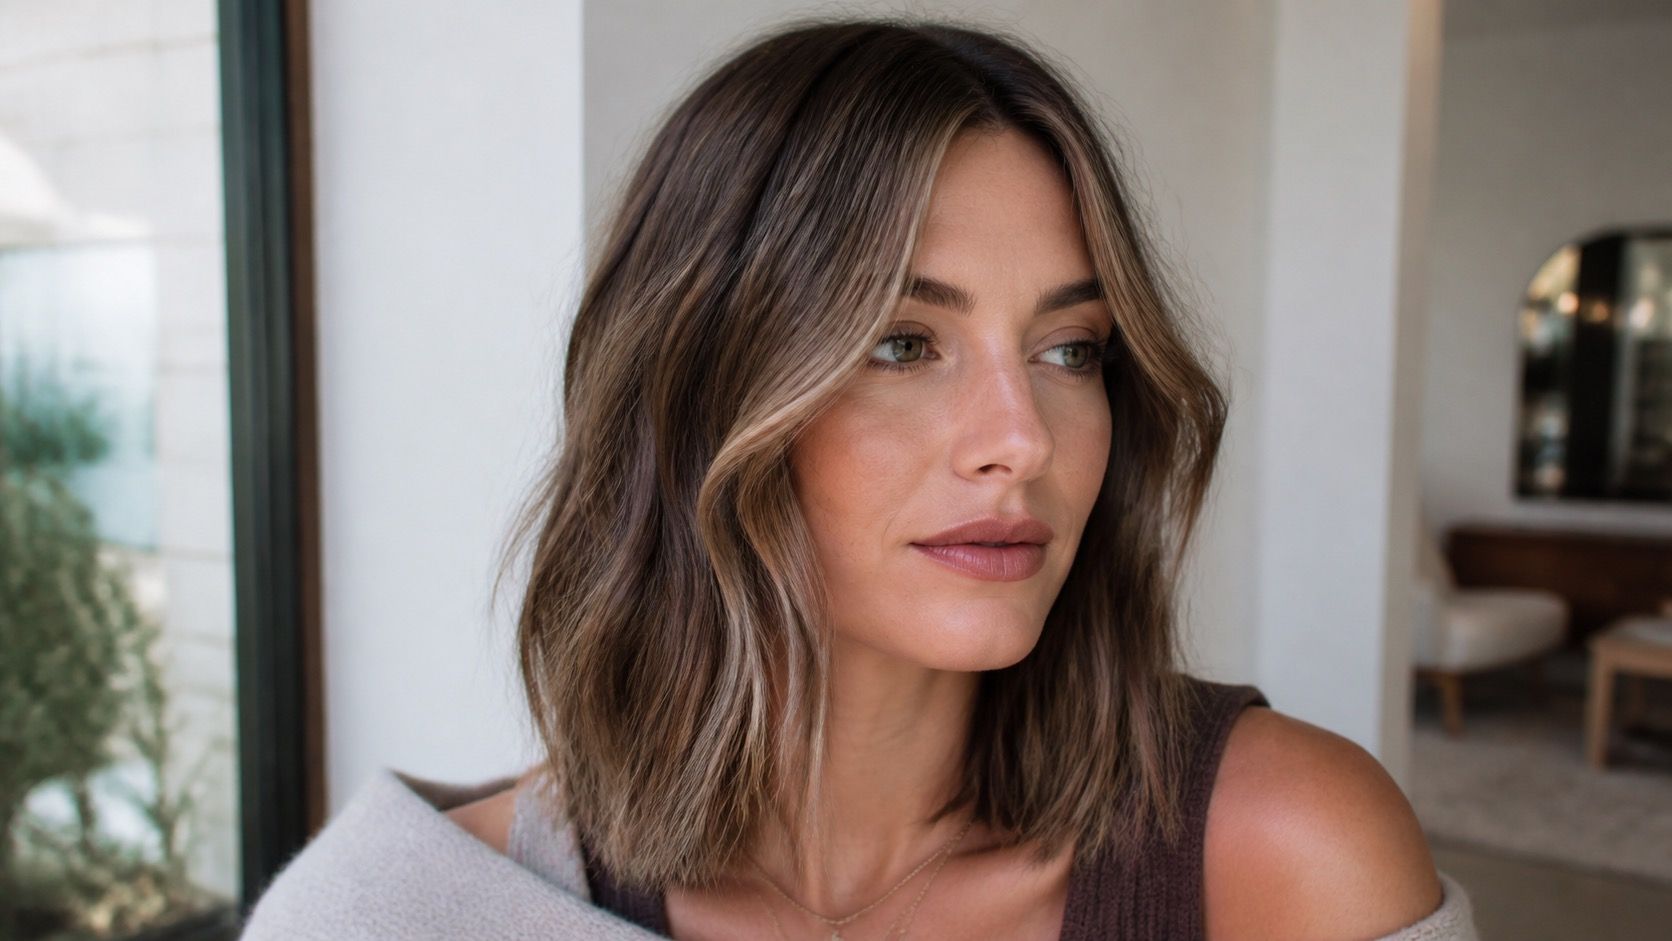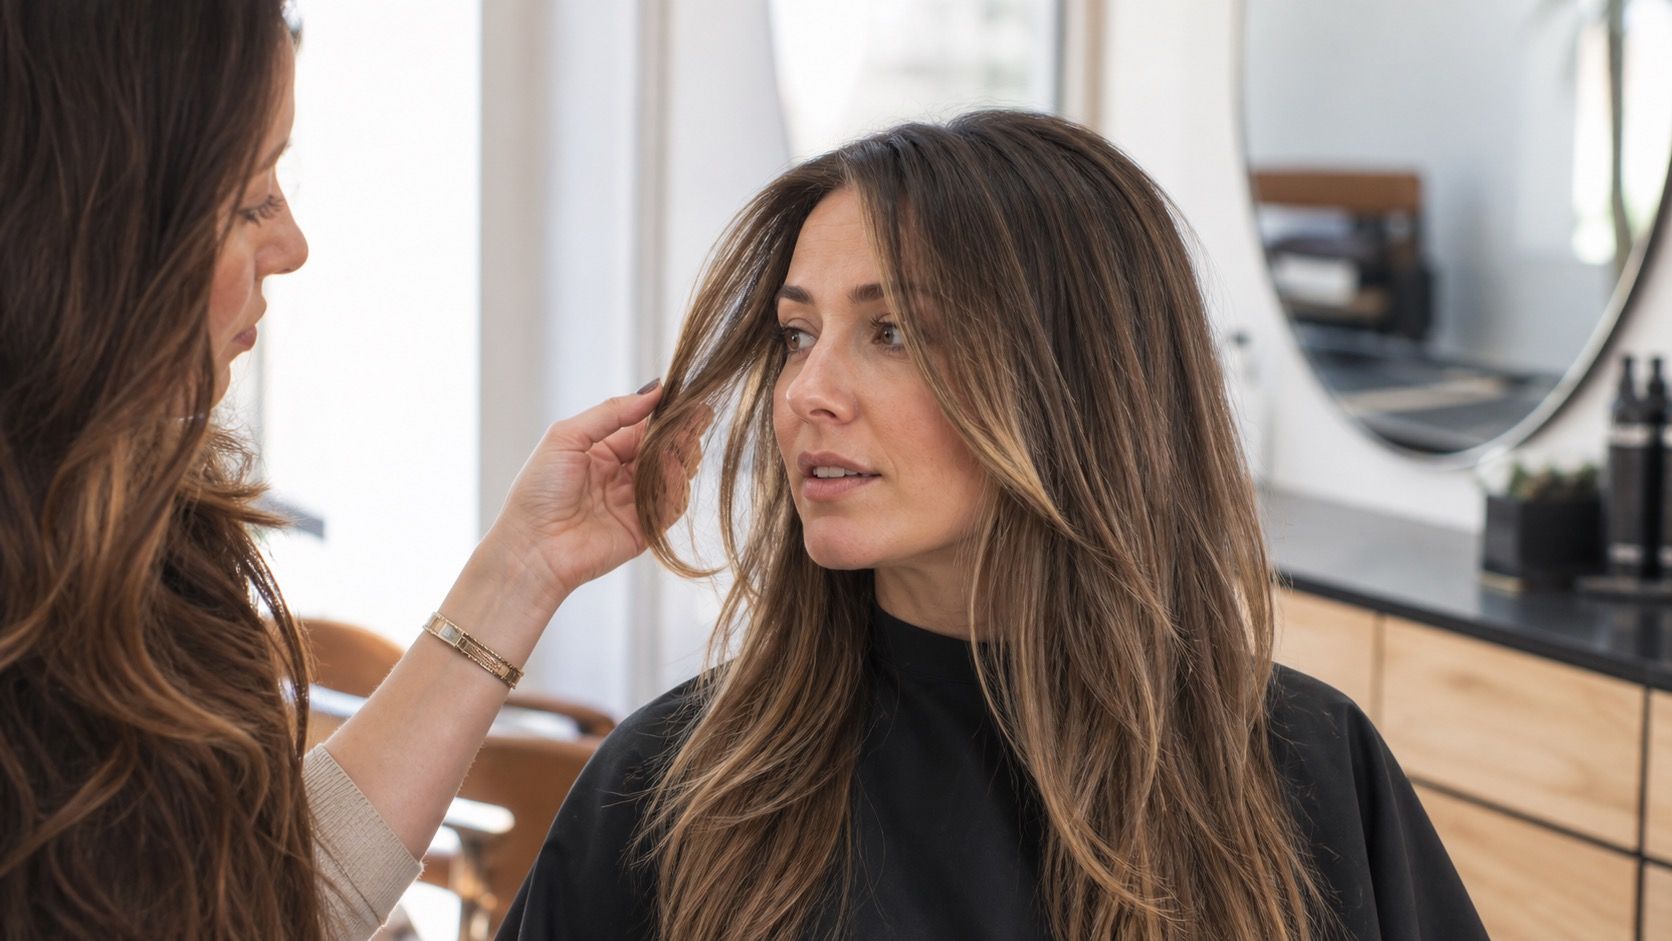
A hair color simulator and a hair color try on can look similar on the screen, but they are useful in different ways. One helps you think through direction, depth, warmth, and maintenance. The other often shows a fast visual overlay on your own photo. Both can reduce guesswork before a salon visit, as long as you remember that pixels do not know your old dye, porosity, natural level, or how much warmth will appear during lifting.
The difference between a simulator and a try-on overlay
A hair color try-on usually starts with a photo and places a shade over the detected hair area. It is quick, visual, and easy to compare. You upload or take a picture, choose copper, brunette, blonde, black, pink, or another shade, then judge how the color sits around your face. Its strength is emotional clarity: you can see whether a direction feels too severe, too warm, too pale, or surprisingly natural.
A hair color simulator may go a step wider. Some simulators focus on digital shade testing, starting level, undertone, or salon-style scenarios such as gloss, root shadow, balayage, or lightening. The word is used loosely, so do not trust the label alone. Look at what the tool actually asks. If it only paints a flat color over a selfie, it is mostly a try-on overlay. If it asks about your starting color, previous dye, and target depth, it may help frame a more realistic salon decision.
Neither format replaces a colorist. The screen cannot inspect the hair shaft, feel dryness at the ends, or see old bands from previous color unless they show clearly in the photo. Use the preview to choose a direction and prepare better questions. Do not use it as proof that a dramatic change can be done in one appointment or with one box of color.
Which format helps with a small change
For a small change, a simple hair color try on is often enough. If you are choosing between neutral brown and soft warm brown, or testing whether a gloss should lean beige or golden, the overlay can show how the temperature works near your skin. Keep the photo plain: daylight, no filter, hair visible at the roots, and clothing that does not throw a strong color onto your face.
Small shifts are where digital previews feel most practical because the screen is not trying to predict a difficult chemical process. A brunette moving slightly warmer, a blonde testing a softer beige tone, or a redhead comparing copper depth can use the preview as a mood check. You are asking, Does this direction flatter me? not, Can my hair safely reach this exact level?
A simulator becomes helpful when maintenance is part of the question. If it lets you compare root depth, gloss level, or a more muted version of the shade, use those controls. Many people dislike a color not because the shade is wrong on day one, but because regrowth, fading, or contrast with brows feels wrong after two weeks. A tool that makes you notice upkeep has done something useful.
| Decision | Better screen test | Practical caution |
|---|---|---|
| One shade warmer or cooler | Try-on overlay in the same daylight photo | Check skin and brows before judging the hair alone. |
| Darker brunette or black | Try-on with root and hairline zoom | Dark color can feel harsher once shine and styling are gone. |
| Soft gloss or toner direction | Simulator with intensity control | The current base color will affect the final tone. |
| Major blonde change | Simulator only for mood and contrast | Lift, warmth, and hair history need a strand test or consultation. |
| Vivid fashion color | Try-on plus maintenance discussion | Brightness depends heavily on the starting level and fading pattern. |
Why major lightening cannot be previewed faithfully
Major lightening is where a digital preview becomes the most seductive and the least reliable. A photo overlay can turn dark brown hair into creamy blonde in one tap. Real hair has to pass through warmth as it lifts, and the result depends on natural level, previous color, condition, and how the hair responds during processing. The app can show a blonde mood. It cannot guarantee the path.
Warm pigment is not a minor detail. Hair that looks cool brown on the surface may reveal orange or red warmth during lightening. Old permanent dye can lift unevenly. Porous ends can grab toner differently from stronger roots. A simulator may mention starting level, bleach lift, or realistic expectations, but it still cannot diagnose the hair through a selfie. That is why big changes deserve a professional conversation and, when appropriate, a strand test.
Use the screen to decide what kind of blonde or light result attracts you. Is it soft beige, bright neutral, sandy, icy, or golden? Then bring that preference to the salon as a direction, not an order. A colorist can translate it into what is possible now, what may need stages, and what maintenance will feel like. Sometimes the safer first appointment is a softer face frame, a gloss, or a partial lightening plan rather than the full preview.
Add hair history to the decision
A useful pre-salon test includes what the tool cannot see. Write down your hair history before you fall in love with the image: box dye, salon color, bleach, keratin treatments, henna, heavy heat styling, or a period of breakage. Even if the hair looks even in a photo, the inside story may be uneven. That history affects lift, tone, and how much stress the hair can take.
Starting level matters too. A dark natural base moving to caramel is not the same as a dark base moving to pale beige blonde. A faded red wanting ash brown is not the same as a natural brunette wanting ash brown. The screen may make both look simple because it places the target color on top. Real color work has to deal with what is already in the hair.
Porosity is the quiet variable. Dry, lightened ends can drink in toner and look smoky while healthier roots stay warmer. Very porous hair can fade faster or look dull after the first wash. A try-on overlay usually makes the whole head behave the same way. If your ends are lighter, drier, or more processed than your roots, mention that when you use the preview as a salon reference.
Move from screen test to strand test
The safest use of a hair color simulator is as a filter for ideas. Save two or three references, not twenty. Label them by what you like: lower contrast, softer warmth, darker root, brighter face frame. A colorist can work with that. A folder full of unrelated screenshots usually creates more confusion than clarity.
For subtle color, a consultation may be enough. For major lightening, correction, vivid color, or hair with a complicated history, ask whether a strand test makes sense. A strand test is not a guarantee of the whole result, but it can reveal lift, warmth, condition, and timing in a way a screen cannot. It also makes the conversation less emotional. You are no longer arguing with a perfect digital after photo; you are looking at your own hair.
The practical sequence is simple: use the try-on to choose a direction, use the simulator to think about depth and maintenance, then use real-world testing for anything that changes the hair significantly. That keeps the preview helpful without giving it authority it does not have. The screen can start the decision. Your hair history and a cautious salon plan should finish it.