A free hair color analysis at home can be surprisingly useful if you treat it as a careful comparison, not a magic quiz. You are looking for repeatable clues: how your skin, eyes, brows, and natural hair respond when warm, cool, light, deep, muted, and brighter colors sit close to your face.
Prepare a neutral starting point
Start with the least dramatic setup possible. Use window light, not direct sun and not a yellow bathroom bulb. Wear a plain white, cream, grey, or black top, then repeat with the most neutral one on you. Pull your hair back if it is dyed, especially if the lengths are much warmer or cooler than your roots. If you have obvious regrowth, let the roots show because they are useful evidence.
Remove makeup if you can. Foundation can hide the exact reaction you are trying to read, and blush can make a cool shade seem worse than it is. If you prefer not to go bare faced, use the lightest base you own and skip bronzer, bright lipstick, and heavy eye color. The aim is not a flattering selfie. The aim is a clean test.
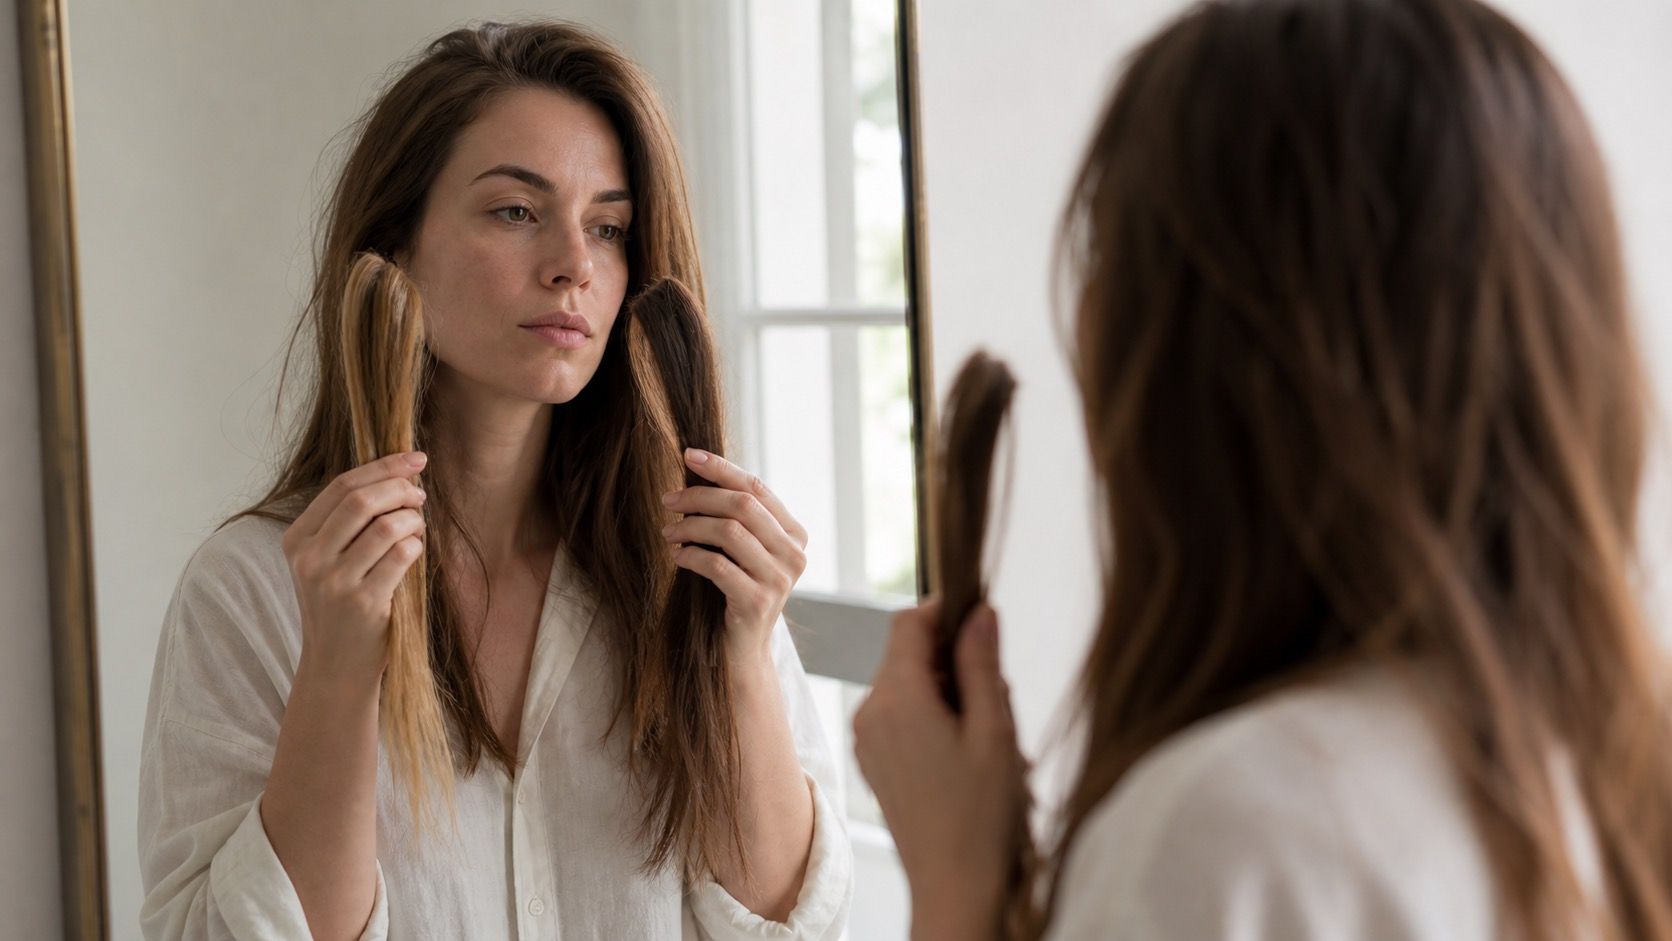
Gather simple samples. You do not need professional drapes. Hair swatches, a scarf, a sweater, an old towel, a sheet of colored paper, clip-in extensions, or even screenshots displayed on a second device can help. Physical samples are better because screens change color, but a free test works with what you already have.
Read skin and hair without overcorrecting
Before comparing new shades, look at your natural features. Check your roots, brows, lashes, eye color, and the natural depth of your hair. Someone with soft brows and muted eyes may need gentler hair color than someone with very dark brows and crisp eye contrast. Someone with naturally golden dark blonde hair may react differently from someone with cool brown roots, even if their skin looks similar at first glance.
Do not overread temporary surface color. Redness, a recent tan, self-tanner, irritation, or a warm lamp can confuse the result. Undertone is not the same as surface skin color. In hair color analysis, you are trying to notice what repeatedly makes the face look clearer or more tired across several samples.
Cover dyed lengths when they dominate the face. Old copper ends can make every cool sample look strange because the eye keeps comparing them. Very dark box dye can make lighter samples feel weak. Use a towel or neutral scarf to hide the lengths for a few minutes, then test beside the roots, brows, and skin.
Compare warm, cool, and neutral samples
Work in pairs. Hold a warm sample near the jaw, then a cool sample at the same height. Try caramel against ash brown, honey against pearl beige, copper against burgundy, golden blonde against sandy beige, chestnut against cool espresso. Keep the distance and lighting consistent. Moving closer to the window for one sample and back into shadow for another will ruin the comparison.
Look first at the face, not the sample. A better direction usually makes the whites of the eyes look cleaner, the lips more present, and the skin less grey or blotchy. A worse direction may make the face look sallow, overly pink, dusty, flat, or suddenly in need of more makeup. The hair color itself may be beautiful and still wrong for your features.
Neutral samples deserve their own round. Beige brunette, soft chestnut, mushroom brown with a beige base, and neutral dark blonde can be the most useful middle ground. If both warm and cool extremes look distracting, your best result may sit between them. That does not mean boring. It means the color is doing less fighting around your face.
| At-home test step | What to watch | What to write down |
|---|---|---|
| Warm sample beside the face | Skin looks golden and alive, or yellow and uneven | Works, too orange, too bright, or only good with makeup |
| Cool sample beside the face | Eyes look sharper, or skin turns grey and tired | Works, too smoky, too flat, or better in a softer depth |
| Neutral sample beside the face | Features look balanced without obvious warmth or ash | Safe range, too plain, or needs more depth around brows |
Use photos without trusting the camera blindly
Daylight photos are helpful because memory edits color. Take each photo in the same spot, with the same phone, same camera mode, and no filter. Hold the sample in the same place every time. If your phone auto-corrects warmth heavily, take a second set a little farther from the window and compare only the patterns that appear in both sets.
Do not let one photo decide the whole free hair color analysis. Cameras brighten faces, cool shadows, and exaggerate red or yellow depending on the device. A shade that looks excellent in one image but odd in the mirror is not settled evidence. A shade that looks calm in the mirror and in several plain photos is more trustworthy.
It helps to crop the photos so you mostly see face, hairline, sample, brows, and eyes. Background color can sway your judgment. A green wall can make skin look different. A warm wooden room can make gold tones seem safer than they are. The plainer the frame, the easier it is to notice the actual response.
Record uncertain results instead of forcing an answer
The most honest home result is sometimes a short note: warm is better than cool, but bright warmth is too much. Or cool works in medium depth, but icy blonde is too pale. Or neutral brown is safe, but needs a lighter face frame. These notes are more useful than a dramatic label that does not guide a salon formula.
Write down three things: shades that clearly helped, shades that clearly hurt, and shades that were close. If you are planning hair dye, include your maintenance limit. A shade that needs toning every few weeks may not be the right choice even if it photographs well on test day. Hair health and upkeep belong in the decision.
Also record what you were wearing and whether you had makeup on. If a copper sample worked only with bronzer and a warm lipstick, that is not a failure. It simply tells you the color may ask more from your wardrobe and makeup. If an ash brown worked with no makeup, that may suit your everyday life better.
Know when a home result is too close to call
A free test does not replace a professional consultation when the hair history is complicated. Bleached ends, permanent dark dye, henna, grey blending, breakage, or a big jump from dark to blonde can change the safe path. Home analysis can tell you the direction you prefer, but a colorist still needs to judge the process.
It is also too close to call when every sample looks fine but none looks clearly better. That often happens with neutral undertone, olive skin, very muted coloring, or features that sit between seasonal palettes. In that case, choose a trial shade with low commitment: a gloss, demi-permanent color, subtle lowlights, or a few face-framing pieces rather than a full permanent change.
The point of at-home hair color analysis is not certainty. It is a calmer conversation with yourself and, if you go to a salon, a clearer set of notes. Bring the notes, mention the samples that failed, and ask for a version that respects your natural features. That is already more reliable than choosing from a filtered photo at midnight.